
Planting
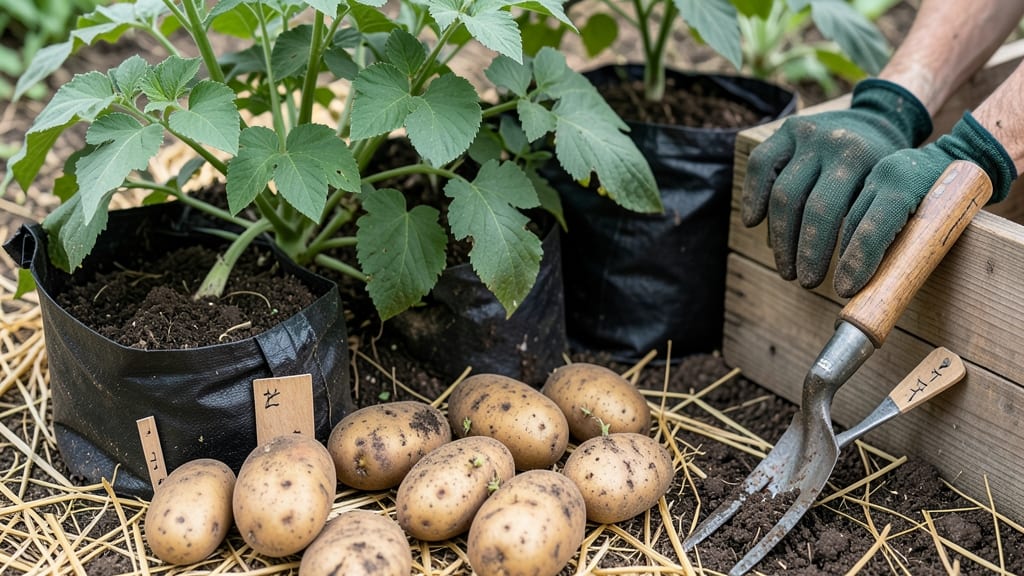
Planting seed potatoes in grow bags lets you grow a bountiful harvest even in small spaces, using a simple layering trick that saves time and soil.
Struggling to grow potatoes in limited space? This method can double—or even triple—your yield while keeping everything contained and easy to manage. No more digging trenches or wrestling with heavy soil.
With just a few basic supplies—like sturdy grow bags, chitted seed potatoes, and a sunny spot—you’ll have a vertical garden that produces more food per square foot than traditional in-ground planting.
Below, I’ll walk you through every step, from prepping your seed potatoes to layering them for maximum growth, plus how to avoid common mistakes that waste your harvest.
Step-by-step guide to layering seed potatoes in grow bags
If you're dreaming of a bountiful potato harvest but lack the space for traditional in-ground planting, grow bags are your secret weapon. This layering method lets you grow multiple layers of potatoes vertically, maximizing yield in just a few square feet.
I’ve used this technique for three years now, and it’s transformed my tiny balcony into a high-yield potato patch!
The key to success lies in proper preparation, correct spacing, and understanding when to add those critical soil layers. Unlike traditional planting, layering potatoes in grow bags requires patience and attention to detail—but the results are worth every effort.
By the time you finish reading, you’ll know exactly how to prep your bags, plant your seed potatoes, and layer them for a harvest that could triple your usual yield.
- 1 Choose the right grow bags: Select 10-12 gallon bags with drainage holes. Black fabric bags retain heat better, while fabric bags allow roots to breathe. Place bags on a stable surface like a tray or stand to catch drainage.
- 2 Prep your seed potatoes: Cut certified seed potatoes into 1.5-inch chunks, ensuring each piece has at least two eyes. Let them chit (sprout) for 4-6 weeks in a bright, cool spot before planting to jumpstart growth.
- 3 Layer the base soil: Fill the bag one-third full with a mix of 50% compost and 50% potting soil. Add a balanced fertilizer (10-10-10) at a rate of 1 tbsp per bag and mix gently. Moisten the soil until damp but not soggy.
- 4 Plant the first layer: Place 3-4 seed potato chunks on top of the soil, 4 inches apart in a circle or row. Cover them with 3 inches of soil, leaving the sprouts exposed. Water lightly to settle the soil.
- 5 Wait for sprouts: Keep the bag in full sun and water when the top 1 inch of soil feels dry. Once sprouts reach 6 inches tall (about 3-4 weeks), it’s time for the first layering.
- 6 Add the second layer: Gently mound 3-4 inches of fresh soil over the existing plants, burying the stems up to the leaves. This encourages new roots and tubers to form at the buried stem nodes. Water thoroughly after adding soil.
- 7 Repeat the process: Continue layering every 2-3 weeks as the plants grow, adding soil until the bag is full or the plants reach the top. Aim for 3-4 layers total to maximize tuber production.
- 8 Monitor and maintain: Keep the soil consistently moist but never waterlogged. Fertilize lightly with a low-nitrogen feed (like fish emulsion) every 4-6 weeks to support tuber growth. Watch for pests like colorado potato beetles and treat early.
- 9 Harvest at the right time: When the foliage yellows and dies back (about 90-120 days after planting), it’s time to harvest. Gently empty the bag and sift through the soil to find your potatoes at all layers. Let them cure in a dark, dry place for 1-2 weeks before storing.
One of the biggest advantages of this method is how it saves space while increasing yield. In my 3-foot-square balcony, I’ve harvested up to 20 pounds of potatoes from just two
Best seed potato varieties and soil requirements for grow bags
Not all potato varieties thrive in grow bags, so choosing the right seed potatoes is key to maximizing your harvest. Compact, early-maturing varieties perform best in confined spaces, producing abundant tubers without sprawling vines.
Look for certified organic seed potatoes with eyes that have sprouted—this ensures vigorous growth and higher yields.
For grow bag success, prioritize varieties like Red Pontiac, Yukon Gold, or Kennebec. These types are disease-resistant, adapt well to layered planting, and deliver consistent results even in small containers.
Avoid large, late-maturing varieties like Russet, as they struggle in tight spaces and require deeper soil.
Soil composition is just as critical as variety selection. Your grow bag mix should be lightweight yet nutrient-rich, with a balance of organic matter and drainage to prevent rot.
Aim for a blend of 50% compost, 30% peat moss or coconut coir, and 20% perlite or vermiculite. This ratio ensures tubers develop properly while avoiding waterlogged conditions.
Moisture control is where many gardeners go wrong. Potatoes in grow bags dry out faster than in-ground plants, so consistency is key. Water deeply 2-3 times per week, ensuring the top 2 inches of soil remain moist but not soggy.
Overwatering leads to rotten tubers, while underwatering stunts growth. A self-watering grow bag can simplify this process if you’re prone to forgetting.
To further protect your crop, add a 1-inch layer of straw mulch once plants reach 12 inches tall. This conserves moisture, regulates soil temperature, and deters pests like slugs and cutworms.
Mulch also prevents soil from splashing onto leaves, reducing the risk of blight—a common disease in humid climates.
| Variety | Days to Harvest | Soil pH | Best For | Notes |
|---|---|---|---|---|
| Red Pontiac | 80-90 | 5.0-6.5 | Layering | High yield, disease-resistant |
| Yukon Gold | 90-100 | 5.0-6.0 | Buttery texture | Great for roasting, needs consistent moisture |
| Kennebec | 100-110 | 5.0-6.5 | Storage | Firm flesh, stores well |
| Fingerling Mix | 70-80 | 5.0-6.0 | Small spaces | Early harvest, unique flavors |
If your grow bag lacks drainage holes, drill a few near the bottom to prevent waterlogging. Poor drainage is the #1 cause of tuber rot in containers. Elevate the bag on pot feet or bricks to improve airflow and further reduce moisture buildup.
With the right variety, soil mix, and care routine, you’ll enjoy a bountiful harvest—even in the smallest of spaces!
For extra insurance, rotate your grow bags every 2-3 weeks to ensure even sunlight exposure. This simple step boosts tuber production and prevents lopsided growth. Happy growing! 🌱