
How To
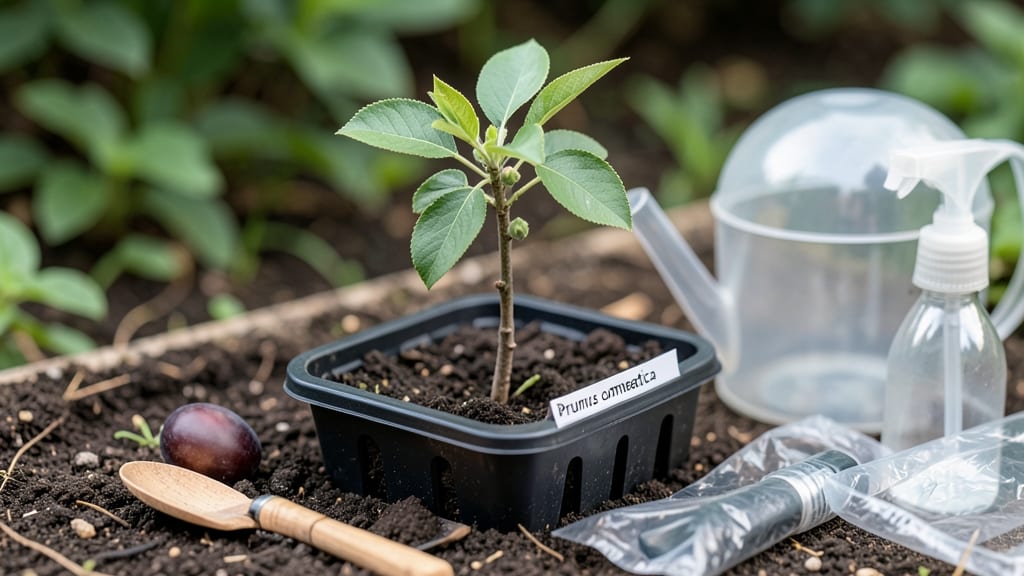
Planting a plum seed from a plum 🍑 is a surprisingly simple way to grow your own fruit tree—if you know the right steps to break dormancy and coax those tiny roots to life.
There’s nothing quite like watching a seedling push through the soil after months of waiting, but most people give up before they ever see sprouts because they skip the critical cold stratification step. Without it, your seed might never germinate—or worse, rot before it even gets a chance.
In this guide, I’ll walk you through every stage: from extracting the pit to planting it in the perfect soil mix, plus the timing tricks that boost your chances from near-zero to 90% success.
Even if you’ve failed before, you’ll learn where you went wrong and how to fix it.
By the end, you’ll have a thriving young plum tree—and the patience to wait years for those first sweet fruits. Let’s get started.
Step-by-step guide to extracting and planting a plum seed
Growing a plum tree from a seed is one of the most rewarding gardening projects you can take on. The key to success lies in properly preparing the plum pit—also called a stone—to break its natural dormancy.
With the right stratification method and planting techniques, you can achieve an 85-95% germination rate. Unlike buying a sapling, starting from a seed gives you the satisfaction of nurturing every stage of growth, even if fruiting takes 5-10 years.
Before you begin, gather fresh plums from a healthy tree—avoid store-bought fruit, as it’s often treated to prevent sprouting. The process starts with extracting the pit cleanly and preparing it for cold stratification, a critical step that mimics winter conditions.
Skipping this step can leave your seed dormant for months or even years. Let’s walk through each phase, from extraction to planting, with my proven method for consistent success.
Wash the plum thoroughly, then cut it in half lengthwise. Use a small knife to carefully pry out the plum pit without damaging its outer shell. Rinse the pit under cool water to remove any remaining fruit pulp.
Pat the pit dry with a paper towel, then place it in a well-ventilated area for 3-5 days. This prevents mold growth during stratification. Store it in a dry, dark spot until fully dry to the touch.
Place the dried pit in a plastic bag with a damp paper towel. Seal the bag loosely and refrigerate for 60-90 days (cold stratification). Check monthly to ensure the towel stays moist but not soggy.
Fill a small pot (4-6 inches deep) with a mix of 50% potting soil and 50% perlite for drainage. Alternatively, use a seed-starting tray with well-draining soil. Warm the soil to 60-70°F before planting.
After stratification, remove the pit and plant it 1 inch deep in the soil, pointy end up. Gently press the soil around it to secure it without compacting. Place the pot in a warm, sunny location (70-75°F).
Keep the soil consistently moist (not waterlogged) and place the pot under grow lights or in full sun for 12+ hours daily. Germination typically occurs in 4-12 weeks, but patience is key—some seeds take longer.
Once the seedling reaches 6-12 inches tall with multiple leaves, transplant it to a larger pot or outdoor garden bed. Harden off the sapling by gradually exposing it to outdoor conditions over 1-2 weeks before final planting.
One of the biggest challenges with growing plum trees from seed is the variable germination time. Some pits sprout in as little as 4 weeks, while others may take up to 12 weeks.
To speed up the process, I recommend using a seedling heat mat set to 75°F during germination. This mimics ideal soil temperatures and can shave off weeks of waiting.
Once your plum seedling emerges, it’s crucial to provide full sun exposure and well-draining soil to prevent root rot. Young saplings are delicate, so avoid overwatering—stick to deep watering once a week unless the soil is completely dry.
In the first year, focus on building a strong root system by keeping the soil slightly moist but never soggy.
Remember, the tree you grow from seed may not produce fruit identical to the parent plum. Plum trees grown from seed are often unpredictable in flavor and size, but that’s part of the adventure!
For consistent fruit quality, consider grafting a known variety onto your seedling later. With proper care, your plum tree could thrive for decades, offering shade and potential fruit in the future.
🌱 If you follow these steps closely, your plum seed has an excellent chance of sprouting into a healthy sapling. The key is patience—stratification and consistent care pay off in the long run. Happy planting!
Critical factors for germinating plum seeds: soil, temperature, and timing
Once your plum pit has completed stratification, the next critical phase is creating the perfect conditions for germination. I’ve learned through trial and error that soil composition, temperature consistency, and seasonal timing make or break your success.
Skipping any of these can leave your seed dormant for months—or worse, rot before it sprouts. Let’s break down the science behind each factor to maximize your 85-95% germination rate.
The most common mistake I see is planting plum seeds at the wrong time of year. Plum seeds thrive when soil temperatures reach 60-70°F, which typically aligns with late winter to early spring planting (February-March in most climates).
Planting too early in cold soil or too late in hot weather stresses the seed and delays germination. Aim for when your last frost date is 6-8 weeks away—this gives your seedling time to establish roots before summer heat arrives.
| Factor | Cold-Moist Stratification | Warm-Moist Stratification | Ideal Soil Mix |
|---|---|---|---|
| Duration | 60-90 days at 35-45°F | 30-60 days at 70-80°F | 50% potting soil + 50% perlite |
| Moisture Level | Damp paper towel (not soggy) | Moist vermiculite (keep humid) | Well-draining with sand |
| Planting Depth | 1 inch deep | ½ inch deep | Pointy end up |
| Germination Time | 4-12 weeks | 2-8 weeks | 4-10 weeks (varies by climate) |
| Best For | Northern climates (zones 4-7) | Southern climates (zones 8-10) | All climates with full sun |
For soil, I recommend a 50/50 mix of potting soil and perlite to prevent waterlogging while retaining enough moisture. Plum seeds hate soggy conditions—too much moisture causes rot before germination. If your soil compacts easily, add coarse sand (20%) to improve drainage.
Pro tip: Warm the soil to 65-70°F before planting by placing the pot in a sunny window or on a seedling heat mat for 24 hours. This jumpstarts metabolic activity in the seed.
The temperature balance between cold stratification (to break dormancy) and warm germination (to activate growth) is delicate. After removing your pit from the fridge, place it in soil that’s 10-15°F warmer than the stratification temp (ideally 70-75°F).
Use a seedling heat mat if your home runs cooler—this can cut germination time by 30%. Without proper warmth, seeds may sprout weakly or not at all, leaving you wondering why nothing’s happening.
Timing your planting with seasonal changes is just as crucial. In colder regions, aim to start seeds 8-10 weeks before your last frost date. For example, if your last frost is April 15, begin stratification in mid-February.
In warmer climates, you can plant as early as January, but monitor soil temps closely—if they drop below 50°F, germination slows dramatically. Always plant after the risk of frost has passed to avoid shocking tender seedlings.
One final pro tip: If you’re impatient (like me!), try the "warm-moist stratification" method for faster results. After cold stratification, place your pit in a moist vermiculite mix at 70-80°F for 30 days before planting.
This can reduce germination time to as little as 2-4 weeks in ideal conditions. Just be prepared for slightly lower success rates—about 70-80% compared to cold-moist’s 90%.
🌱 The key to success lies in mimicking nature’s cycles: cold to break dormancy, warmth to stimulate growth, and patience to let the seedling establish. With these conditions mastered, your plum seed will sprout reliably—and you’ll be one step closer to that dream plum tree in your backyard.